1100CC Guides
These guides walk you through 1100CC's basic functionalities. Follow the steps described in the setup instructions to get your 11000CC instance running.
First Login
After you have completed the steps described in the setup instructions you can navigate to cms.yourdomain.com to enter the CMS. You should see the following login screen:
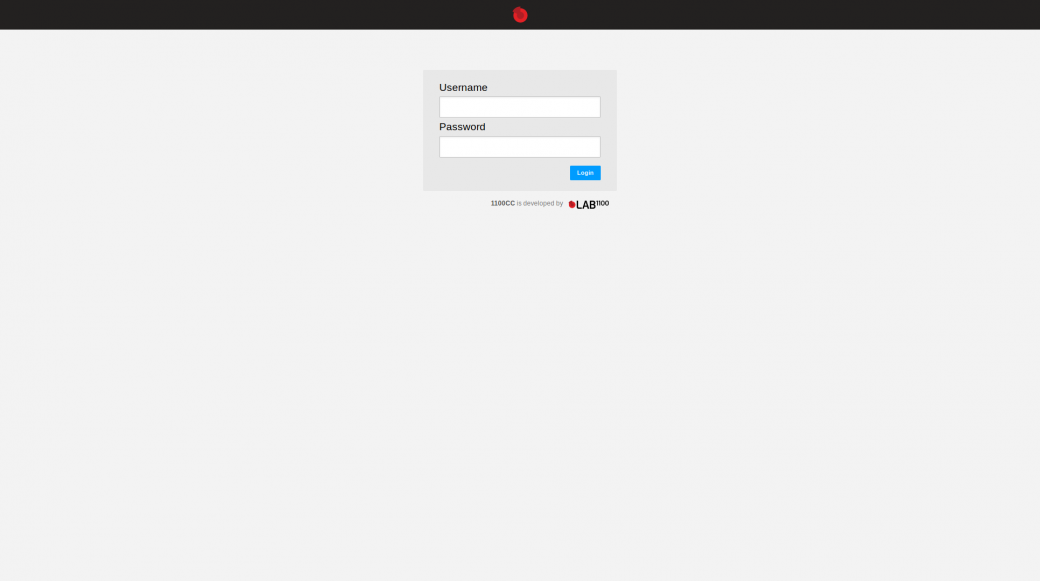
The username and password you enter here for the first time will be stored as the primary CMS user. This user carries the label 'CORE Admin' by default. Additional CMS users can be entered by following the guide on creating CMS users.
After your first login, you should see the following interface:
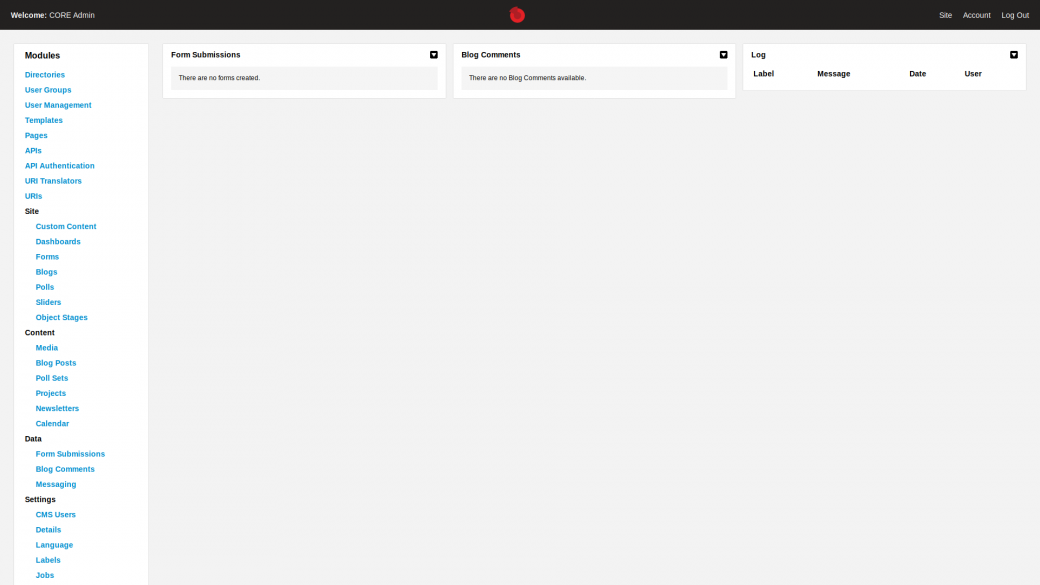
In the left menu you see the modules that are available in your installation. An additional menu is displayed in the top right corner. 'Site' allows you to navigate to the app that is managed by this CMS, 'Account' allows you to update the user details of the CMS user that is currently logged in, 'Log Out' logs you out of the CMS.
Enter Site Details
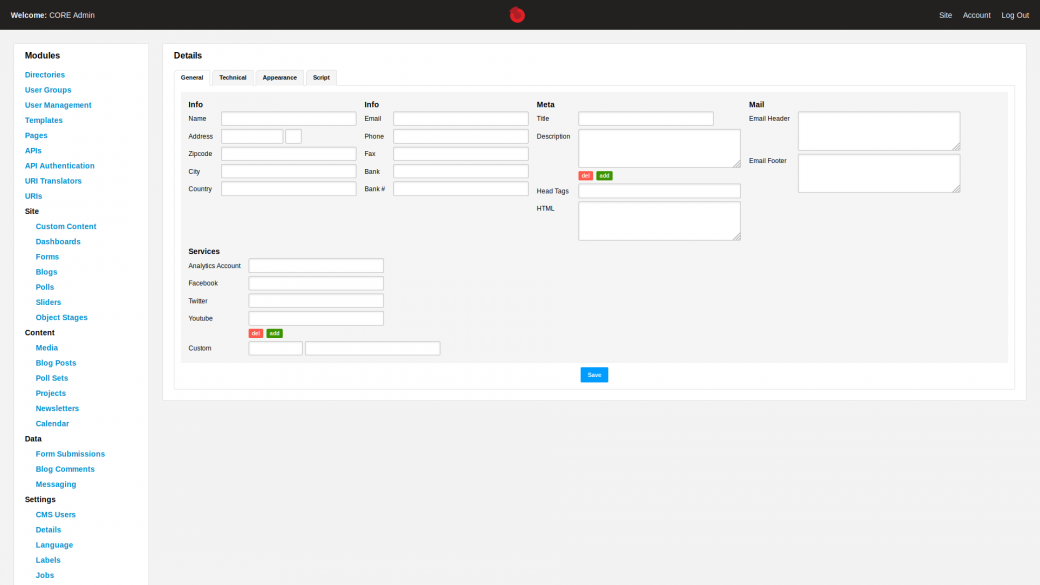
Locate the 'Settings' section in the left menu and click 'Details'. This module allows you to manage the details of your web app. Fill in the relevant details here. After you have entered the 'Title' of the web app and clicked 'Save', you can refresh the page to see the title of the web app appear at the top of the screen.
Click on the tab 'Technical' to enter additional information regarding host, mail, and server settings:
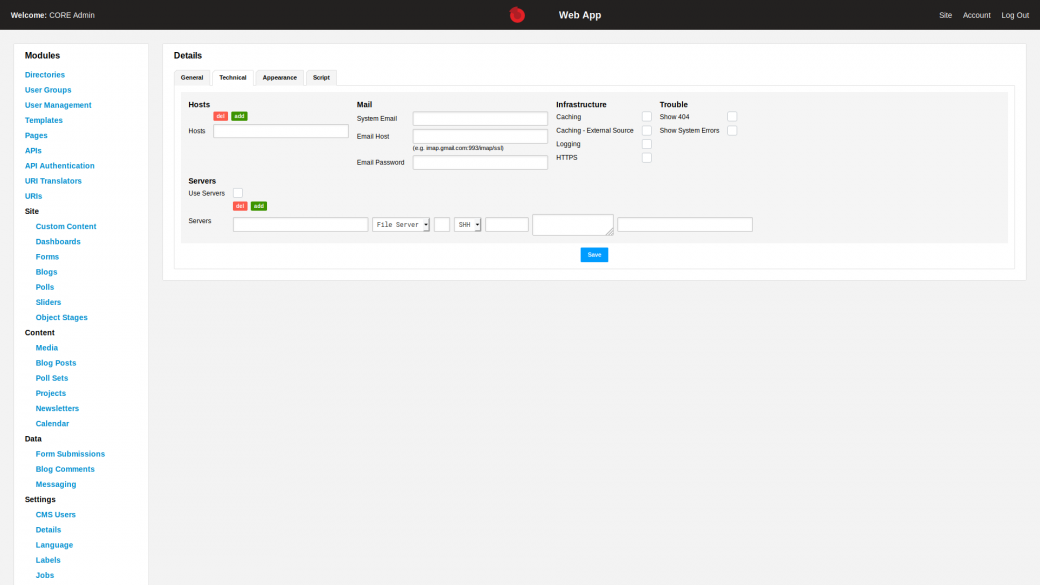
You can consult and edit the CSS file of your web app via the 'Appearance' tab, while the javascript file can be accessed via the 'Script' tab.
Create CMS Users
Locate the 'Settings' section in the left menu and click on 'CMS Users'. This module allows you to create and manage CMS users. Click the green 'add' button to add a new user. In the dialogue that appears you can enter the details of the new CMS user:
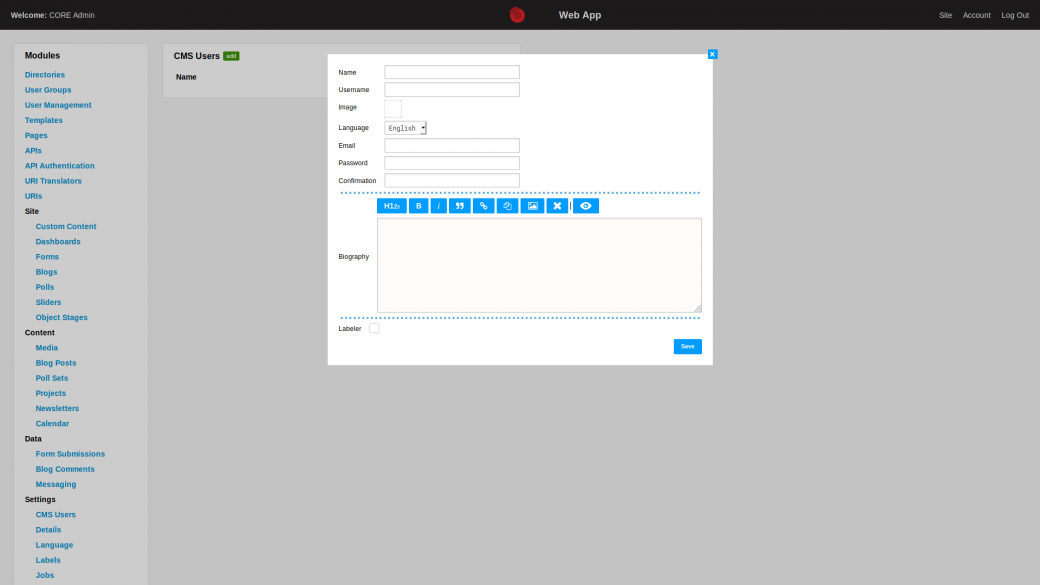
After a CMS user has been created, their details can be edited by clicking the blue 'edit' button, or removed by clicking the red 'del' button.
Create a Root Directory
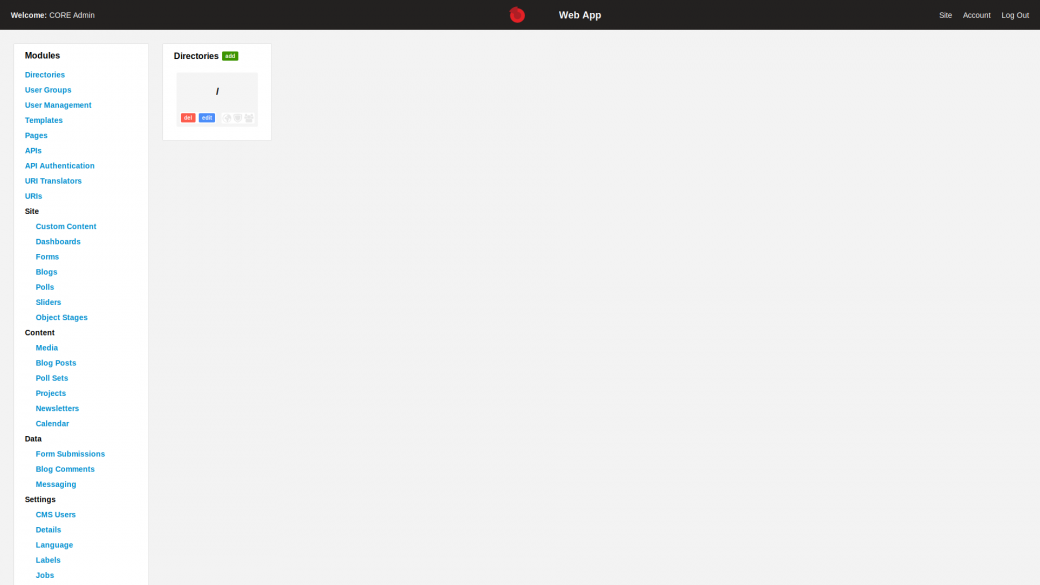
Begin by creating a root directory for your web app. Click 'Directories' at the top of the left menu. Click the green 'add' button and click 'Save' to create a root directory. Your 'Directories' should now look like this:
Create a Template
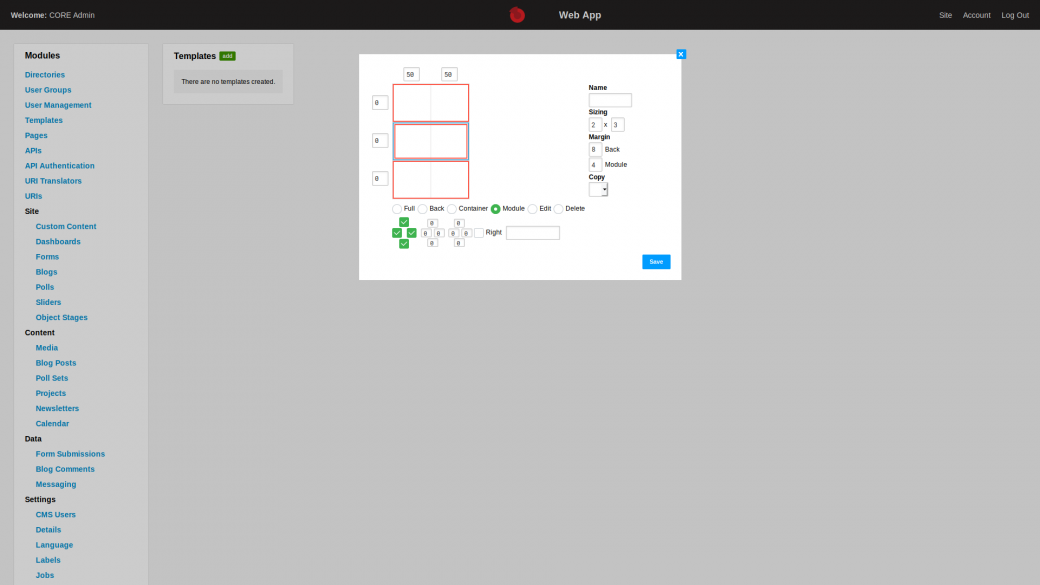
Create a page template to be able to assign modules to a page. Click 'Templates' in the left menu. Click the green 'add' button and set the first template to a simple 2x3 structure. Assign a 'Module' element to the top row, a 'Module' element in a 'Back' element to the middle row, and a 'Module' element to the bottom row:
Create a Page
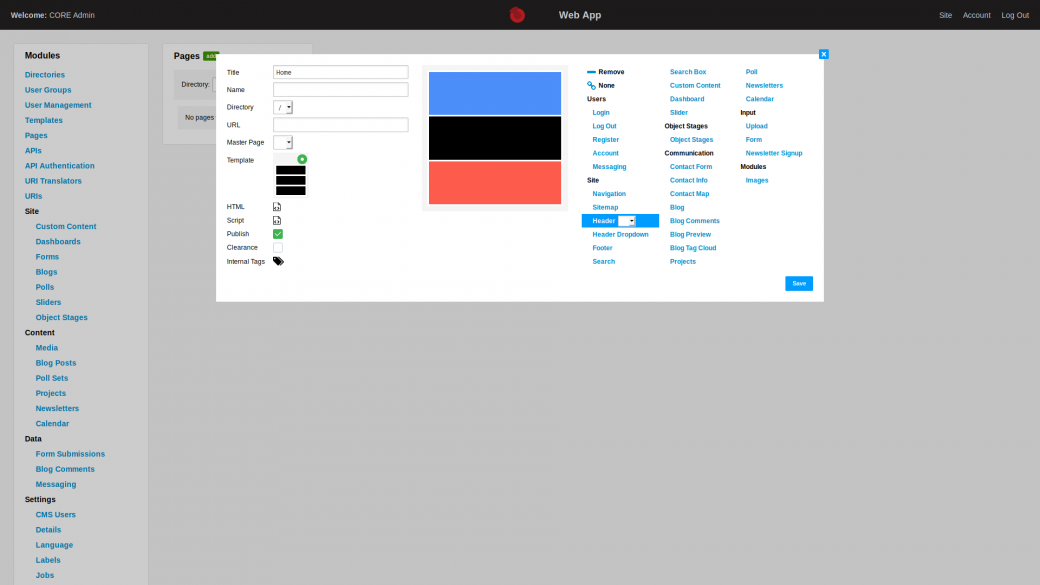
Create a page by clicking 'Pages' in the left menu. Click the green 'add' button. Give this page the name 'Home'. By default, the page is assigned to the top directory. Set the top module to 'Header' and the bottom module to 'Footer':
Now go to 'Directories' and click the blue 'edit' button for the root directory. Here you can select your newly create 'Home' page as the Index page of this directory.
If you now navigate to your domain, you should see this page appear.
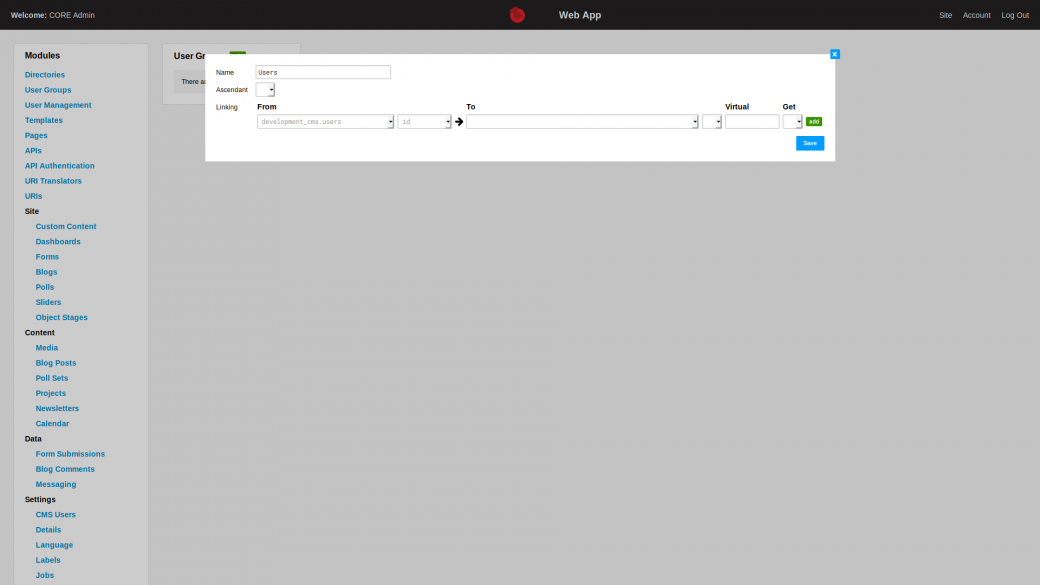
Create a User Group
Create a user group to be able to create a section of your web app that requires a login procedure. Click 'User Groups' in the left menu and click the green 'add' button. Enter a name for the use group, like 'Users' and click save. The other settings are relevant when connecting specific functionalities of additional modules to a user group.
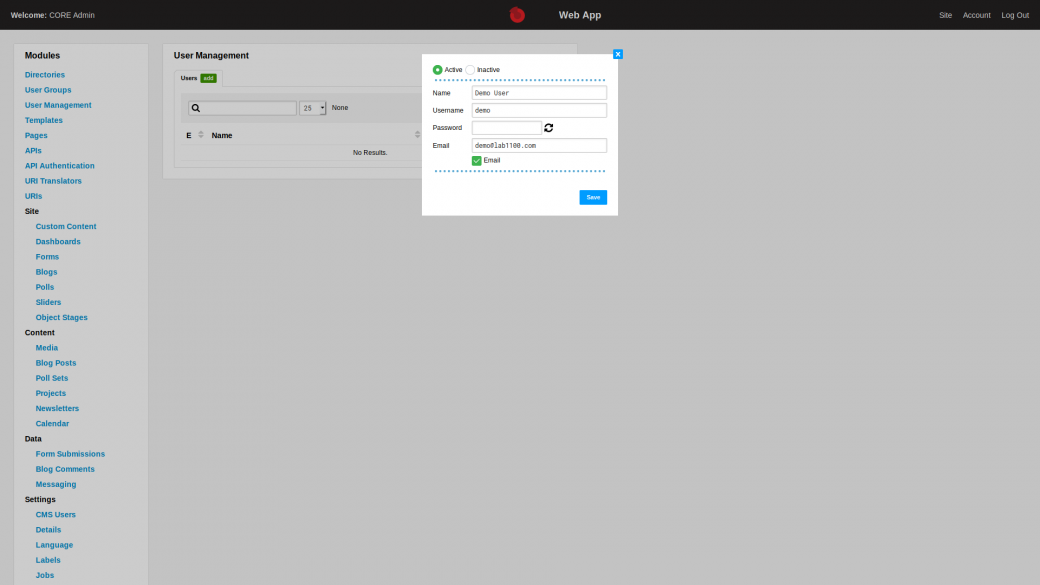
Create a User
To create a user click 'User Management' in the left menu. Click the green 'add' button. Enter a 'Name', 'Username' and 'Email' and check the 'Email' checkbox with the label 'Send a confirmation email with login information', and click 'Save'. By using these settings, the newly created user will receive an email that allows them to set a password. If you want to manually assign a password you can enter this in the 'Password' input field, or generate a random password by clicking the button next to the 'Password' input field.
After a user has been created, their details can be changed by clicking the blue 'edit' button. A user can be removed by clicking the red 'del' button.
Once you have this setup you can create additional directories that are assigned to specific user groups and that require a login.
Run Jobs
Locate the 'Settings' section in the left menu and click 'Jobs'. This module allows you to manage the system jobs of your web app, like periodically checking for returned emails from sent newsletters, cleaning up the cache, or cleaning up the log of requests made to your web app.
To clean up the request log change the drop-down menu next to the label 'Cleanup Requests' to '30 minutes' and click the blue 'edit' button to set the maximum age of requests to one day, and click 'Save':
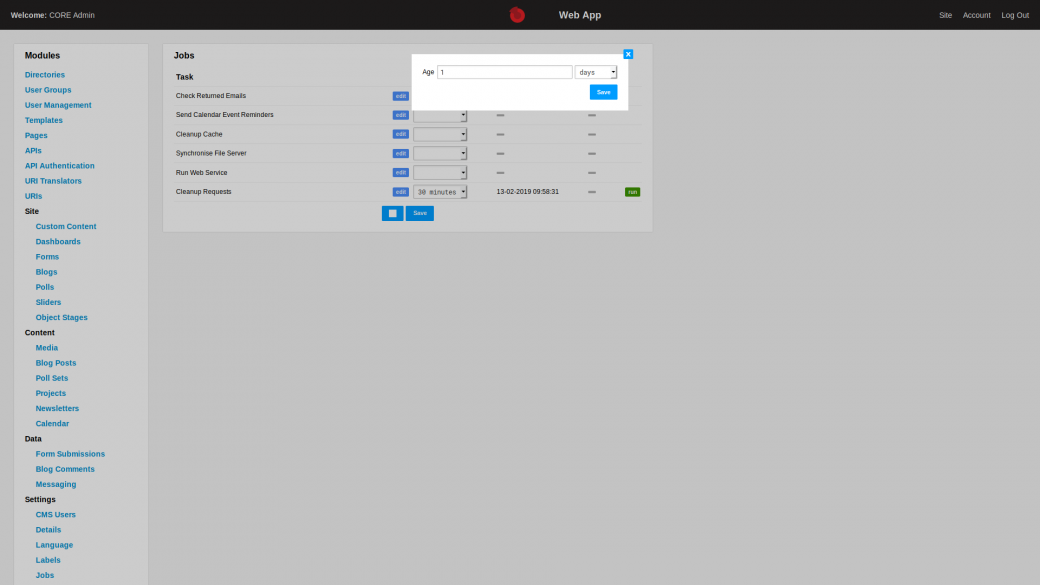
Click the 'Save' button at the bottom of the list of jobs to store these settings. Once stored, the 'Cleanup Requests' job will check the requests log every thirty minutes and delete requests that are older than one day.